August 10, 2021
by Star Building Systems
The foundation is in place, the frame has been erected and those bundles of wall and roof panels are begging to be installed. It looks simple, and for the most part, it is. But there are some important Installation DO’s and DON’Ts worth knowing before you jump in. Whether it is your first time or fiftieth, you are bound to learn something.

We have said it before, but it bears repeating. These two documents – which will be provided by Star – are your most comprehensive guides to everything you might need to know on the jobsite. From technical specifications and tolerances to important sequence of installation guides, these documents are an essential part of ensuring your project runs smoothly from start to finish.
Check your parts against the drawings. Avoid the temptation to assume that your delivery was 100% correct. Mistakes happen, albeit rarely, and it is much easier to replace an incompatible part before it has been installed. If something seems irregular or does not fit exactly right, check the part number with the Star Field Service Group.
Also, be sure to double-check the color of your panels, and remember to take photos just in case.
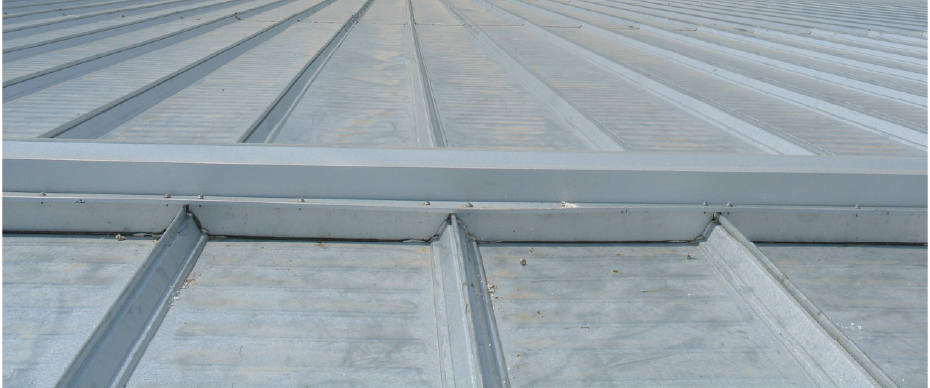
Star’s metal panels are designed to stand up to the elements for decades, and time has proven that they do the job. So, it may be tempting to leave the bundled panels on the job site for extended periods of time, exposed to those same elements. However, the panels must be able to air dry to be weather-resistant. When they are tightly packed together and water penetrates between the panels, the finish can be severely damaged. Do not store them on-site for long, and when you do store them on-site, store them off the ground, be sure to prop up one end to drain water, keep jobsite covers tied away from corners to allow air circulation, and check for moisture daily.
The provided sealant requires temperature control to be effective. This means sealant containers cannot simply be left out. In warm weather, store them in a cool, dry place. In wintry weather, store them where you are confident the temperature will remain between 60° and 90°F – such as in a thermal box. Do yourself a favor and keep only enough mastic on the roof that can be installed that day. Remember, working with the sealant in extremely hot or cold temperatures can prevent adhesion and flow, and it will not adhere to wet surfaces. Erectors are expected to possess the knowledge to ensure weather and air tightness.
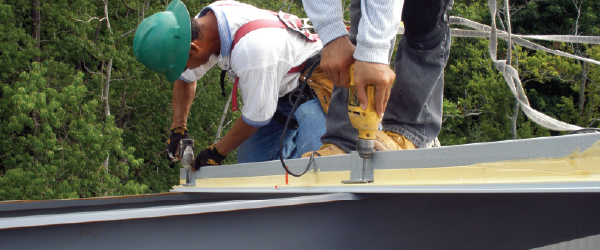
Different fasteners do different jobs. Some are self-tapping; others are self-drilling. Diverse types, lengths and sizes are created differently for good reason – so they do their job and do it well. Additionally, torquing the fasteners properly is important. You want to make sure they are secure, but you also do not want to drive them too far down. A slight extrusion of neoprene around the washer is a good visual tightness check. Also be sure to check your guide for the proper fastener sequence. Oftentimes the installation calls for some to go in first, and another set to go in once those are secure. And be sure to read on for a note on the metal filings certain fasteners leave behind.
During windy conditions, be sure to block girts at the middle of the bay. A good option to use for this is the crating lumber from the packaged material. Blocking the girts will prevent straight line winds from causing flutter – a twisting of the member back and forth. This twisting can fracture the lip of the girt, resulting in a material failure that will reduce the design capacity if left damaged. So be sure to block those girts.
Do not glance at the drawings and assume you can install the wall panels and roofs from memory! Star’s products may appear simple – and they are simpler than other methods – but it is also easy to go wrong. Your drawings document has lots of important information on everything from fasteners and insulation tips to sealant.
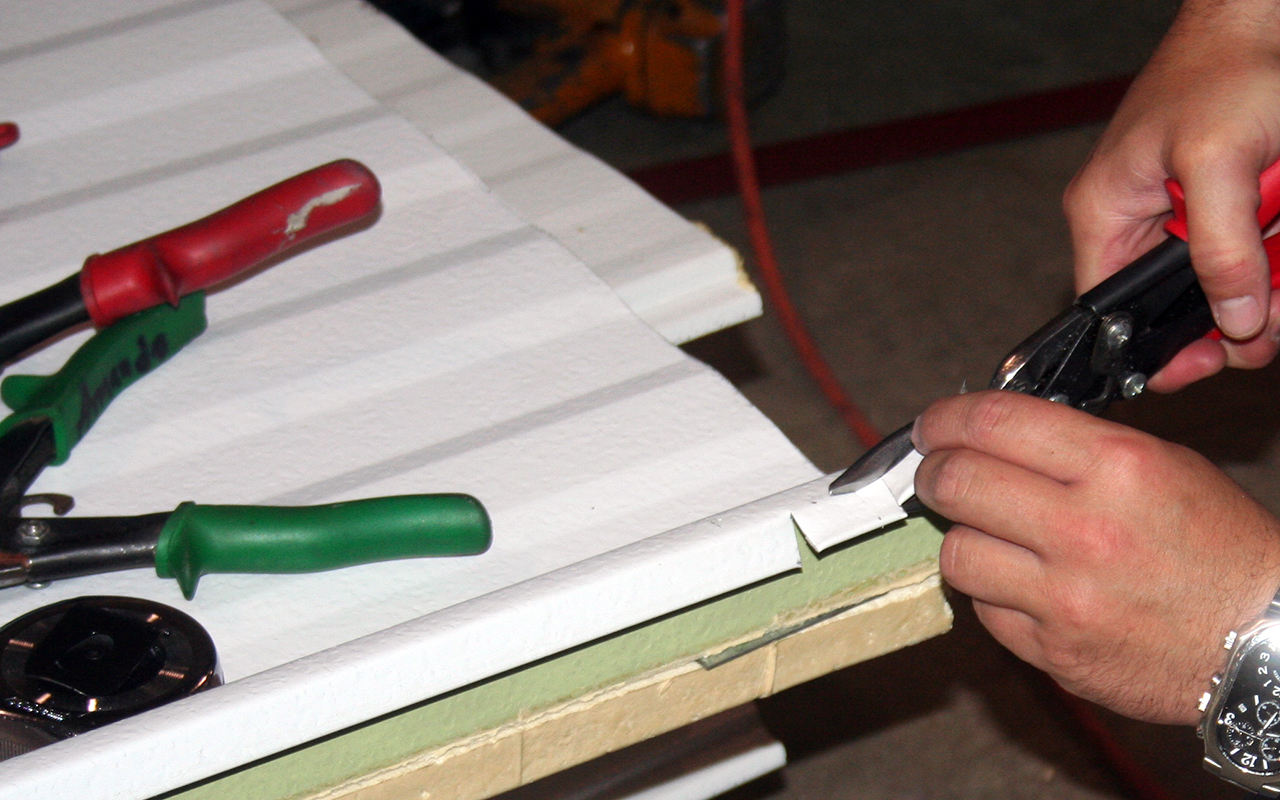
It may be tempting to use the provided double-sided tape to simply attach insulation directly to the panel and cut it later, but trust us, this is not a good practice. You can end up with fiberglass sticking out where you do not want it, and risk compromising your vapor barrier. The best practice is to cut the insulation to size, then apply it to the panel, then install the panel. Be sure to cut off insulation a minimum of ½” above the bottom of the wall panel to avoid it touching the base and wicking moisture. And check with the insulation suppliers’ instructions for further techniques and information.
Self-drilling fasteners can leave behind small metal shavings or filings on roof or wall panels. They seem inconsequential, but give it a few days or some wet weather and you will have rusty spots everywhere filings were left. This is not anything permanent – any spots can be cleaned off with a very mild soft scrub detergent – but it would be easier to prevent them in the first place. A magnet might be a clever idea to pick up ferrous shavings.
There are a handful of effortless ways to keep your metal surfaces handsome and clear of any corrosion or stains:
Do your best to catch any stains early. Before they set in, they are easily repairable with straightforward cleaning. But if they are allowed to sit, they can become a real problem.
Keep foreign debris like sawdust, dirt, leaves and animal droppings off the roof. These could all cause corrosion.
Be mindful that dissimilar metals and other chemicals and their water runoff will cause corrosion. Copper, lead, graphite and lumber treated with copper or arsenic salts, as well as calcium used in concrete, mortar and grout are all potential culprits.
Worksite safety should always be priority number one. Though specific site rules are your call, we do have a few pointers that are specific to Star products:
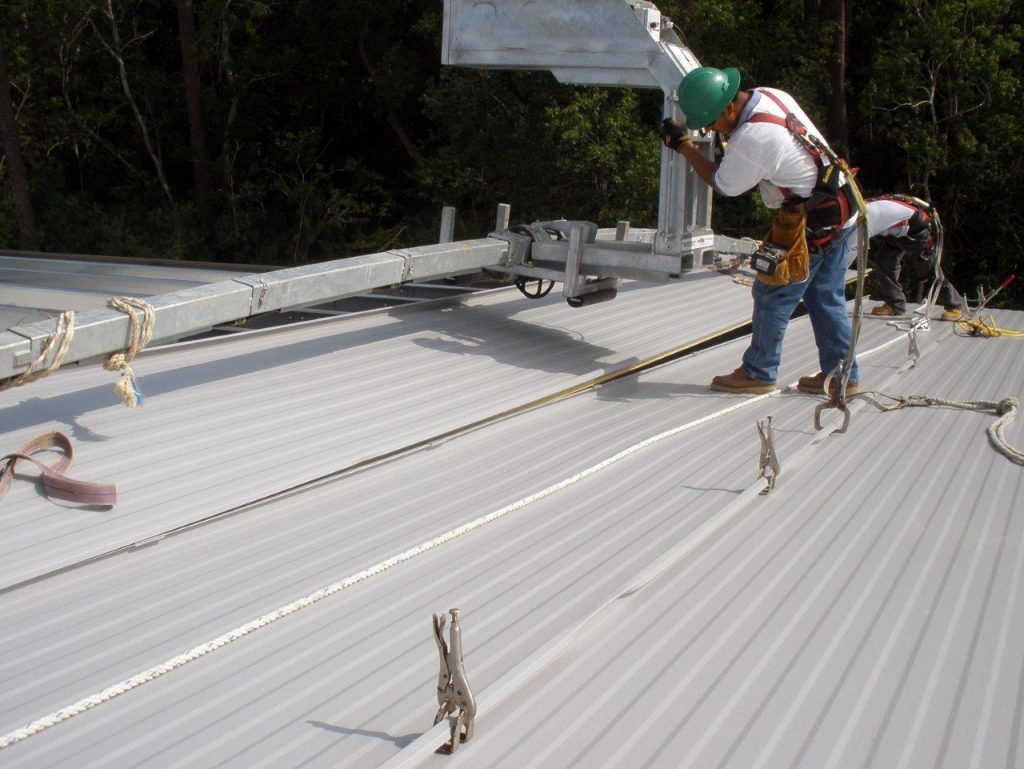
First, do not erect in windy conditions. It is far too easy for an unpredictable gust to grab a panel or structural element, whip it around and cause irrevocable damage to people and parts. This is especially true of long, lightweight wall and roof panels. It is just not worth the risk. Wait for a calm day. The speedy weather-in will make up for any delays.
Second, be incredibly careful walking on the roof as it is being completed. Roof panels must be completely attached to purlins and to panels on either side before they can be a safe walking surface. Even then, remember light transmitting panels will not hold a person’s weight. Further, snowy or icy conditions may hide the light transmitting panel under your feet, so clear snow and ice before walking on a rooftop.
We hope these DO’s and DON’Ts answered some of your questions or brought up some issues you had not thought to ask. If you have any further questions or concerns, please do not hesitate to reach out to your Star representative.
Become part of the powerful Star network. We invest in builders who understand the value of results and provide support that develops strong relationships between you and the entire Star team.
Your building is the cornerstone of the community where people live, work and play. Find a local Star Authorized Builder and let us help you bring your vision to life.